Thuja western varieties Holmstrup (Holmstrup) - a decorative tree used in landscape design. For planting and growing, it is necessary to choose the right territory and planting material. To ensure harmonious growth and development, you need to find out what diseases and pests are affected by the plant, and what are the requirements for care.
Description and properties of the variety
Thuja varieties Kholmstrup began spreading from Denmark, from the city of the same name. It belongs to coniferous evergreens. Shoots grow very slowly, reaching only 12 cm in height and 4 cm in width during the year. The size of an adult plant does not exceed 4 m. The color of scaly needles does not change throughout the year and remains saturated green. The cone-shaped crown has a diameter at the base of about 1 m. Brown cones grow on the branches with a circumference of 0.5 cm.
The bark is red-brown in color, a grayish shade is less often present. Tends to exfoliate every 3-5 years. Strong and soft wood contains a small amount of resin and is used in the furniture industry. The needles are soft and flexible.
Plant Properties:
- long life expectancy (200 years);
- decorative application;
- unpretentiousness in leaving;
- frost resistance - withstands temperatures up to -35 ° C;
- the release of volatile, contributing to the purification of air.
Landscape design application
Thuja is used to design the design of personal plots. Trees are planted in groups to create hedges, or to frame alleys and garden paths. Tui are harmoniously combined with conifers, such as pines. In combination with flowering shrubs and trees (spirea, barberry, magnolia, Forsythia, Nedzvedsky apple tree), thuja fits perfectly into the general gamut of the exterior.
Important! Tui do not tolerate neighborhood with fir trees. Plants nearby will interfere with each other's development.
Compositions from coniferous shrubs and flowers, for example, white roses and heather, also look pretty. Thanks to soft and safe needles, thuja is allowed to be planted near playgrounds and on the territory of educational institutions.

How to plant
Before planting thuja on a personal plot, you need to decide on the place where they will grow. The territory must meet the conditions necessary for their growth. It is also important to choose the right planting material - the further development of the plant will depend on its quality. Following simple landing rules will make your job easier.
Seat and Seedling Selection
Open spaces are suitable for planting, providing a large amount of light. The shadow slows growth and affects the color of the needles - it loses saturation and turns pale. Crohn becomes rare, friable, loses its density and neat appearance. As a result, the thuja will become painful and prone to attack by pests. Also, the area blown by the winds is not suitable, since the weathered young tree can dry out.
Did you know? Phytoncides of the coniferous plant under consideration strengthen the human immune system, therefore, in European countries, the law provides for landscaping of thuja kindergartens, schools and hospitals.
The proximity of groundwater and swamps should be avoided. If these conditions are not met, the soil will have to be drained. Crushed stone laid out in a layer of about 20 cm is perfect for this purpose. It is also necessary to observe the correct neighborhood and not plant thuja next to plants that inhibit their growth and development - for example, with larch.
The area for planting must be chosen, given that it will be impossible to transplant an adult plant because of its size and weight. It is also necessary to consider the distance between the trees, if you plan a group landing. The distance must be at least 1.5–2 m, otherwise the overgrown crowns will create a shadow and interfere with each other's development. Also, close proximity will impede access to plants and, accordingly, the implementation of care will become impossible.

The most suitable for the cultivation of thuja western is loose, fertile and well-moistened soil. Soil, consisting of sand, must be enriched in peat and turf in equal parts. Dense, airtight earth is not suitable for planting, as as a result of oxygen starvation and lack of nutrients, the roots will stop developing, begin to rot and the plant will die. The optimum level of acidity (pH) of the soil is 5-6 units.
Further preparations for planting include a selection of seedlings. The age of the planting material is not significant, but it should be clarified that the older the seedling, the worse it adapts to new conditions. Also, large varieties are harder to transplant, given their size, so it is better to transplant them at a younger age, not older than 2-3 years. The main condition for choosing a seedling is health and a strong root system. For transplantation, it must be removed from the container along with an earthen lump.

Step-by-step landing
Landing is carried out in the middle of spring, when the snow comes down and stable sunny weather is established.
Landing pattern:
- Dig a planting pit 60 × 60 cm. The hole should correspond to the size of the root system and seedling.
- At the bottom of the pit, lay out a drainage layer of 20 cm. For this, gravel or broken bricks are well suited.
- Prepare a substrate from a mixture of peat, deciduous soil and sand in the calculation of 1: 2: 1.
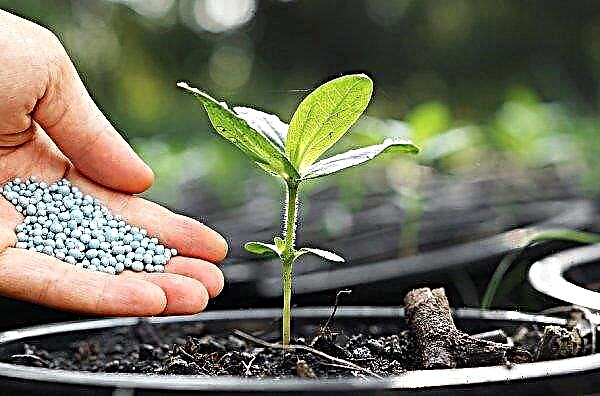
- Add 500 g nitroammophoski to the landing pit. Fertilizers accelerate growth and stimulate the development of a young plant.
- In order not to injure the roots during planting, the seedling must be watered before being taken out of the container. It is necessary to take out together with a lump of earth. Due to the fact that the lump contains a sufficient amount of minerals and trace elements, additional feeding is not required for a year.
- If a sapling with open roots is planted, in the center of the pit you need to make an earthen pillow and install a sapling on it, gently spreading the roots.
- Having established a young bush, you need to gradually sprinkle its roots with a substrate.
- The root neck should be close to the surface of the earth. You should not fill it with soil and ram it.
When the seedling is properly planted in the ground, it is recommended to make a rut around it on the ground so that the water remains at the planting site. The depth of the track should be about 5 cm. If the tree is planted on a slope - 10 cm. Then you need to water this place and apply a layer of mulch 7 cm (peat and wood chips in equal parts).

Care
After landing, the young thuja needs care and attention. Further development of the plant, its appearance and the exterior of the site as a whole will depend on timely and regular care.
Quality care includes:
- watering;
- timely top dressing;
- systematic cropping;
- mulching;
- preparation for winter;
- weeding and loosening the soil.
Also, special attention should be paid to pest control. They are dangerous not only by harming the health of the bush, but also by the fact that they quickly infect all plants growing on the site.
Did you know? In ancient Greece, thuja was considered sacred, and its branches were used to light ritual bonfires.
Watering and feeding
Thuja western Kholmstrup is quite resistant to drought, but a prolonged lack of moisture can lead to drying out of the roots and death of the plant, so watering should be regular, especially in the hot months. During the first weeks after planting, the seedling must be watered twice a week, adding 10 liters of water.
Simulated rain periodically. To do this, the tree is watered through a film dotted with holes, 1 time per week, using 10 liters of water. This procedure eliminates the dust deposited on the surface of the needles, and also moisturizes the air, which positively affects the development of shoots and the formation of the crown. In summer, the amount of water should be increased to 15 l; the frequency remains the same twice a week.
 An adult plant is watered after 8-10 days with 10 liters of water. Feeding is also necessary in spring and summer.
Additional fertilizers will not be required the first 1.5 years after planting. All the necessary nutrient components were laid in the ground initially. When the seedling reaches two years of age, it is recommended to remove the top layer of the earth and replace it with a 15 cm thick humus layer. Complex mineral additives specially designed for conifers, for example, Kemira Universal, based on 50 g per 1 m², are well suited as fertilizers .
Important! In the presence of fungal diseases, sprinkling is prohibited. During the treatment period, only basal watering is allowed.
Weeding and cultivating the earth
Weeding and loosening of the soil are required every time after watering. Weeding eliminates weeds from the surface of the earth around the plant, while loosening facilitates the access of moisture and air to the soil. This procedure must be carried out extremely carefully so as not to damage the roots, which are located close to the surface of the earth. The depth of cultivation should not be more than 10 cm. Mulching will eliminate the need to weed and loosen the soil each time after applying watering.

As mulch can be used in equal parts:
- mowed grass;
- foliage;
- peat;
- sawdust.
Pruning
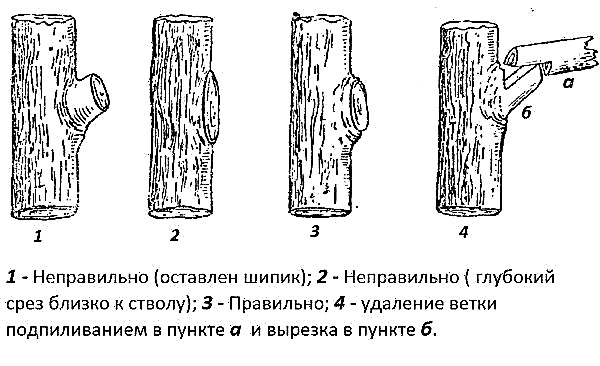
Dry branches and needles can provoke decay of the crown, so they must be regularly removed. Pruning helps to renew shoots: after this procedure, they grow more intensively, and the crown becomes thicker. If the plant has several branches, all are cut, except for one, the thickest and strongest.
In the spring, before the buds appear, the tips of the shoots should be cut off to accelerate their growth. Pruning is also required to give the tree a certain shape (round, oval, cone-shaped).

Mulching and shelter for the winter
Mulching is required to maintain moisture in the soil. To do this, the earth around the plant needs to be cleaned of weeds and loosened. In this case, you need to be extremely careful so as not to touch the roots. Then pour and apply a layer of mulch, consisting of peat and chips in the calculation of 1: 1. The layer thickness in this case is 7 cm. To maintain heat in the winter, the layer can be increased to 10 cm. You can add dry foliage or hay to the composition of the mulch. Proportions should be observed in equal parts.
Despite the fact that the thuja tolerates frosts well, its branches growing vertically can suffer from the cold and snow that accumulates on them. As a result of frostbite, the shoots die off and break off. In order to protect the tree from the negative effects of low temperatures, in the late autumn should begin preparations for winter. To this end, you need to apply a layer of mulch suitable for maintaining heat (dry foliage, hay, sawdust and peat in equal parts).
After that, install a frame on which you can put on fabric made of lightweight material, such as burlap or nylon. There are also special bags that can be used repeatedly - just wash them and dry them after use and use them the next time. These measures will help protect the young shrub from frost and gusts of cold wind.

Diseases and Pests
Thuja is susceptible to attack by pests and the emergence of diseases that can cause significant harm to its health and infect neighboring plants. Therefore, it is extremely important to take measures as soon as the first signs of defeat appear.
Description of pests and symptoms of diseases:
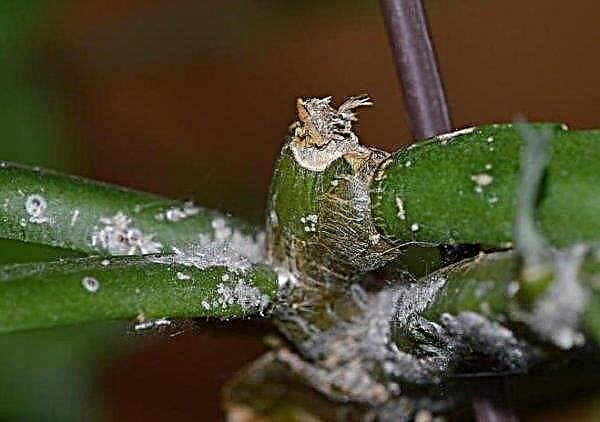
- Thuja aphids and false insects. They hit the needles, because of which it begins to turn yellow and crumble. For their extermination, the bush is treated with insecticidal agents two times with an interval of 10 days.

- Maybug Larva. It affects the roots of trees, inhabiting fertile soils. During one day, one larva can destroy the root system of a young plant, which will lead to its death. The activity of this pest can be recognized by the state of shoots and needles. When the lesion is observed, they dry out and the corresponding color change. As a struggle with the Maybug larva, it is required to water the plant with a solution of a chemical preparation containing imidacloprid. The proportions are indicated on the packaging of the drug.

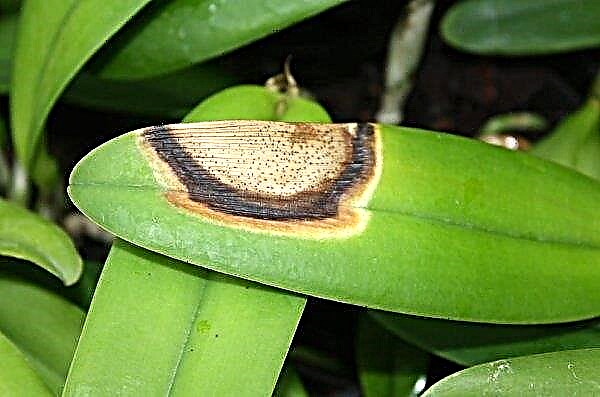
- Improper irrigation and stagnation of moisture in the soil can lead to fungal root diseases. In this case, the shoots dry out and the appearance of the thuja noticeably deteriorates. Treatment includes regular watering with the addition of copper-containing drugs to the water. Watering should be once every two weeks until the signs of the disease disappear and a healthy appearance returns.

Perennial decorative arborvitae planted to design the exterior design. Planting them is quite simple, you only need to take into account that the seat should be well-lit, then choose suitable seedlings and fertilize the soil. Subsequent care involves weeding, loosening the soil, seasonal pruning of shoots, watering and preparing for wintering. With pest damage, it is very important to take timely measures to combat them. Prevention will help protect the plant from disease.


